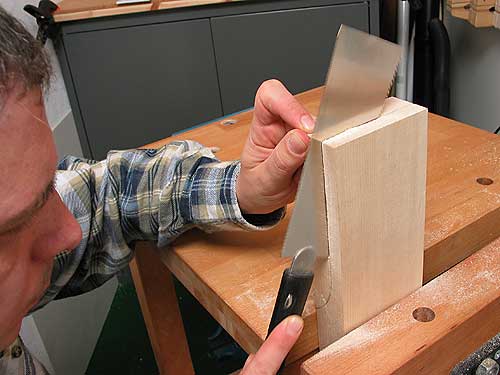
Clamp the plank upright into the workbench vise. Make sure that the
saw-guide line is vertical. Start the cut at one corner using the
fine, cross-cut teeth of the Ryoba saw. Hold the saw at an angle of
45 degrees and turn it over as soon as the cut is about 1/4"
(6mm) deep. This cut goes along the grain and is therefore best
done with the larger teeth of the saw. Don't force the saw and
don't pull too hard, but hold it gently and hold it steeper
(i.e. lower the handle side of the saw) with each stroke. The
pulling action of the saw leaves the blade dead straight making it
easy to follow the guide line. Continue until you've cut just
over the halfway point and halfway down. Flip the plank over and do
the same from the other side until both cuts meet at the top.

![]()
Remove the remaining material, holding the saw horizontally as you
cut. Then repeat the procedure above until you reach line A.
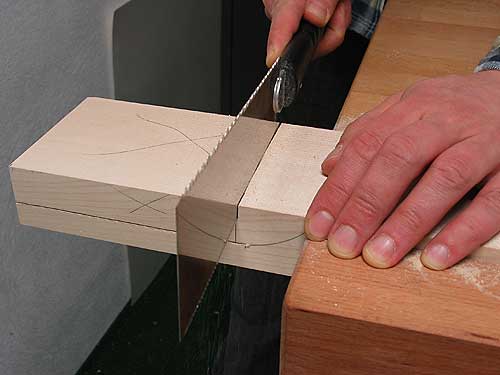
Remove most of the waste by cutting across the plank at line A.
This cut is uncritical, but you must take care not to cut too deep.
A piece of veneer or cardboard stuck into the kerf will protect the
back of the peghead against being scratched. If you use veneer of a
contrasting color, the differently-colored saw dust will tell you
when the cut is finished.
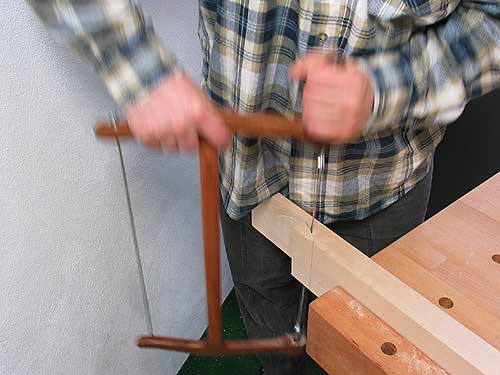
Now comes the most difficult cut: the concave transition to the
full thickness of the plank. If you have access to a bandsaw with a
narrow blade, this is the ideal tool for the job. However, a bow
saw - although out of fashion nowadays - will also do the same in a
little more time. Clamp the plank to the workbench so that the cut
is vertical. All cutting with a bow saw is done on the push stroke,
with the teeth facing away from you. Hold the saw with a light grip
and let the blade do the work. Follow the guide line as close as
possible, but keep it visible all the time. Check frequently if the
cut hasn't gone astray at the bottom. If this happens, turn the
plank over and correct the cut. With a bit of practice it is
possible to make this cut in one pass, although I had to turn the
piece over and correct the cut several times. I was lucky because
the blade had always ended up in the waste area.

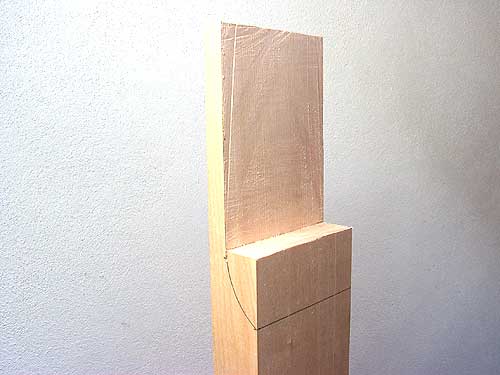
As you can see, the cut turned out not too bad, just slightly off
line B. If you manage to cut over the line, draw a new transition
line and be more careful when following it. There's some room
for corrections; these will, at worst, result in the bridge ending
up a bit nearer the peghead.